

BDRSuite: Windows Server Backup – A Step by Step Guide
Sometimes, we run across a Server that needs to be backed up that is either nor virtual, or has a special circumstance. Special circumstances could be that it’s a Microsoft Failover Cluster and you need to backup the CLUSTER Name and not the individual servers. Let us walk through this procedure in BDRSuite 7.0!
Either way, you’ll need to install the BDRSuite Backup Agent for Microsoft Windows on these machine(s). You have two options. You can either add the endpoint and automatically install the BBA on the target server(s), or you can download the installer and run it manually.
1. Logon to BDRSuite.
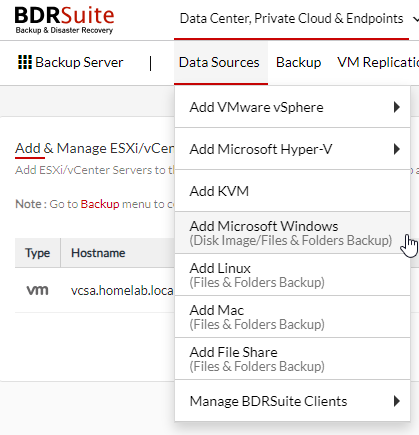
2. Navigate to Data Sources – Add Microsoft Windows.
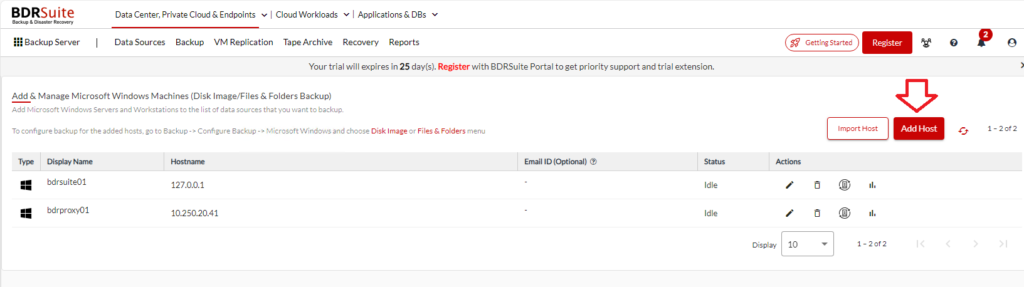
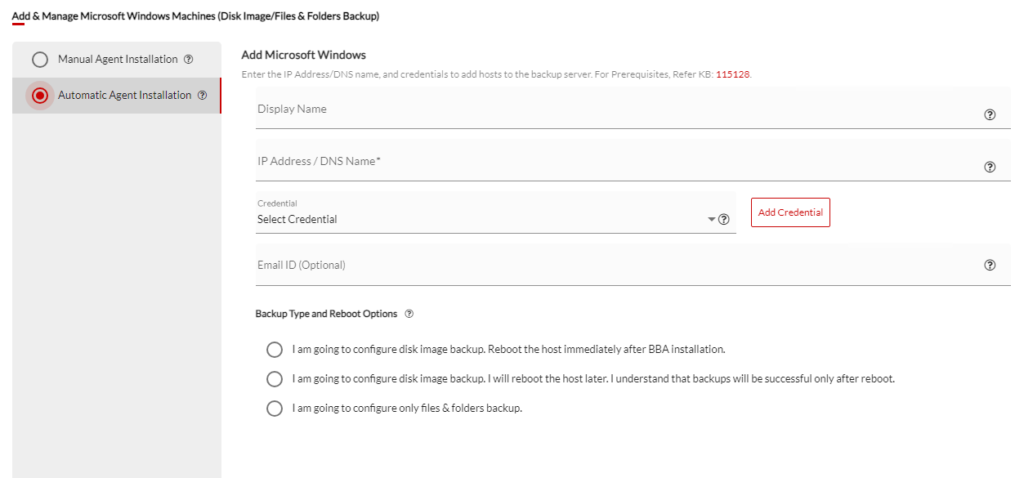
3. On this page, click ADD HOST.
4. As I mentioned above, you have two options here. Manually download and install or automatically push the agent.
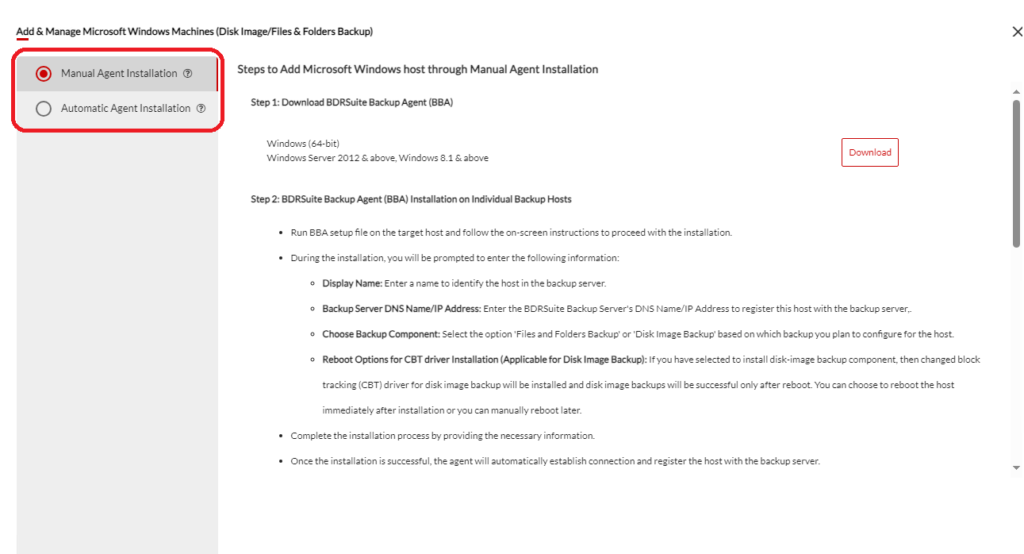
5. If you want to push the agent, here’s the information you’ll need.
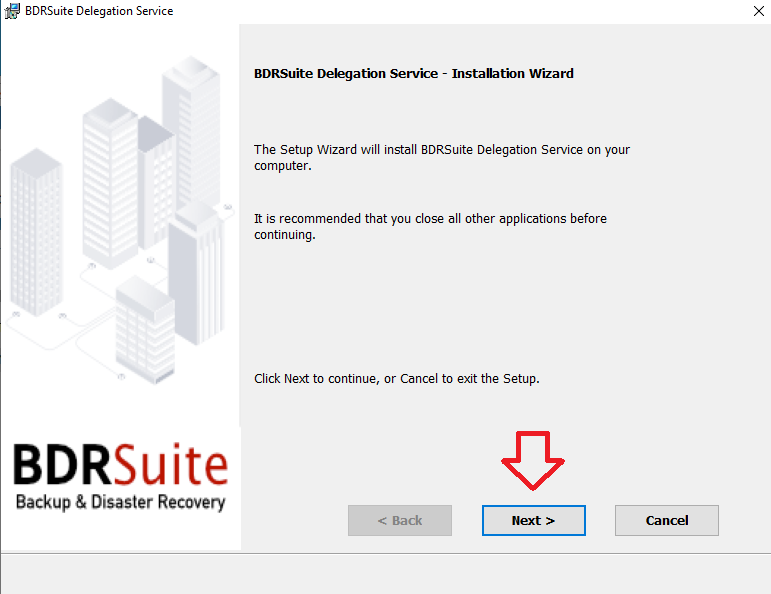
6. For the manual agent deployment, click NEXT.
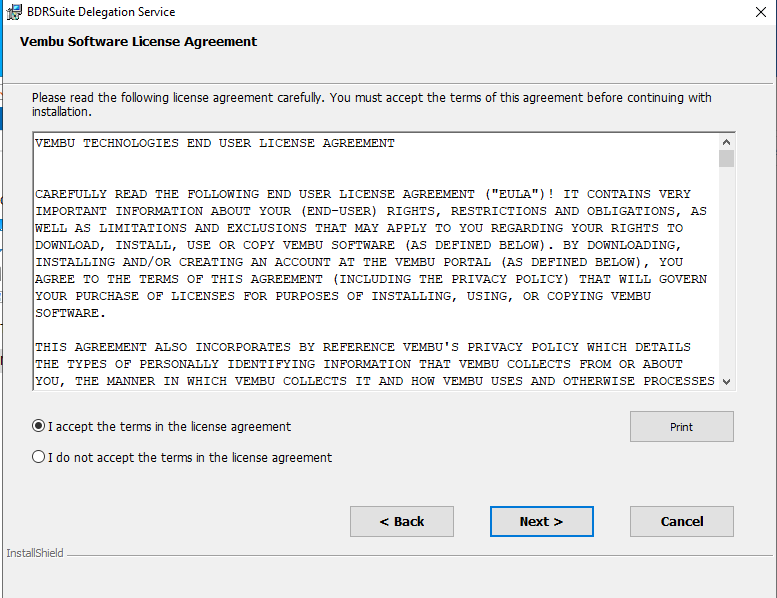
7. Accept the terms of the license agreement and click NEXT.
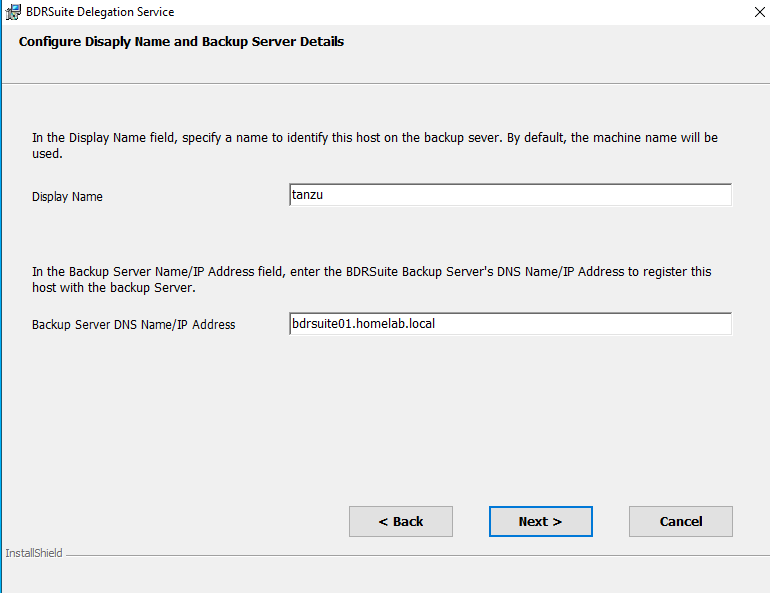
8. The server name is displayed in the display name field. Enter the server name or IP Address and click NEXT.
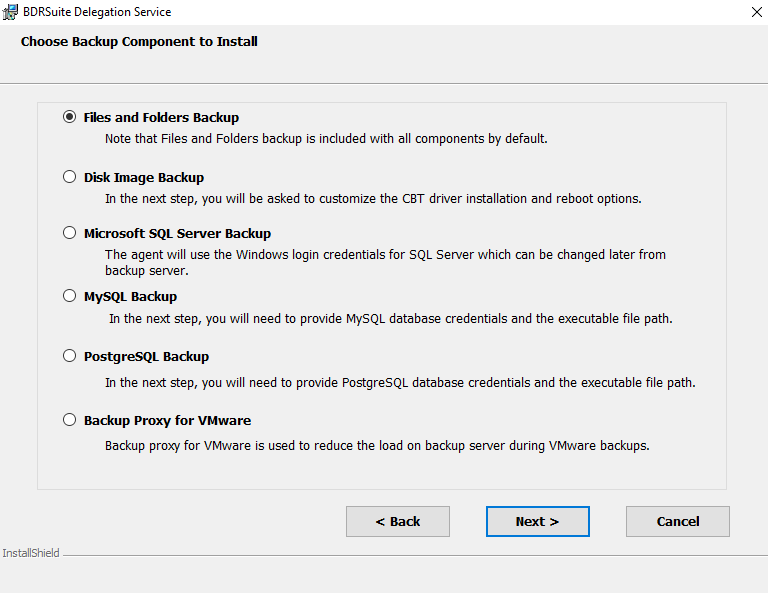
9. I choose Files and Folders backup and clicked NEXT.
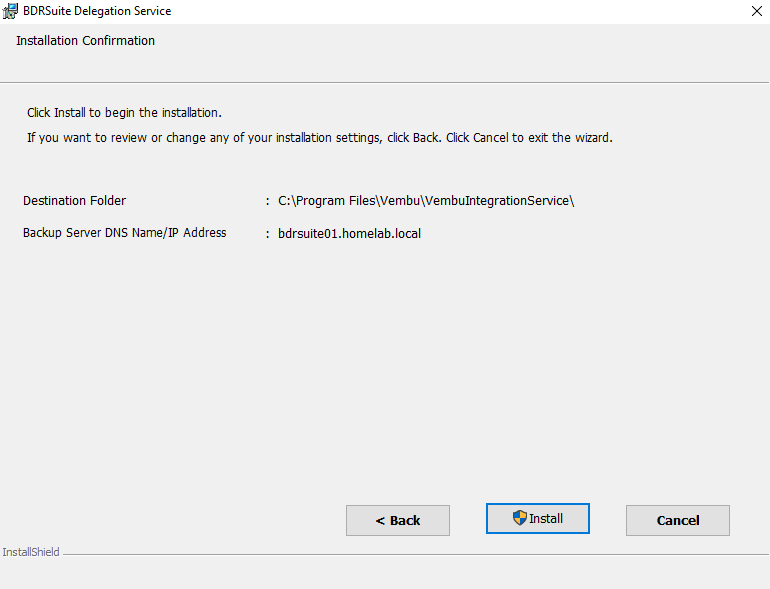
10. Confirm the destination folder and the backup server name/IP. Click INSTALL.
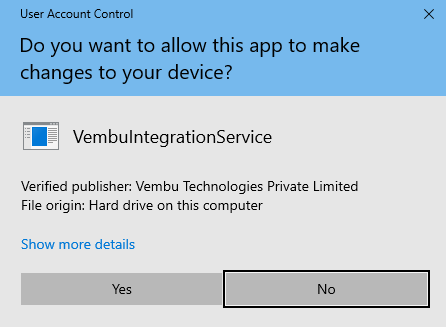
11. Click YES to the UAC prompt.
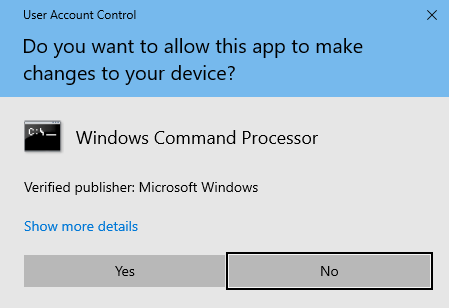
12. Click YES to the 2nd UAC prompt.
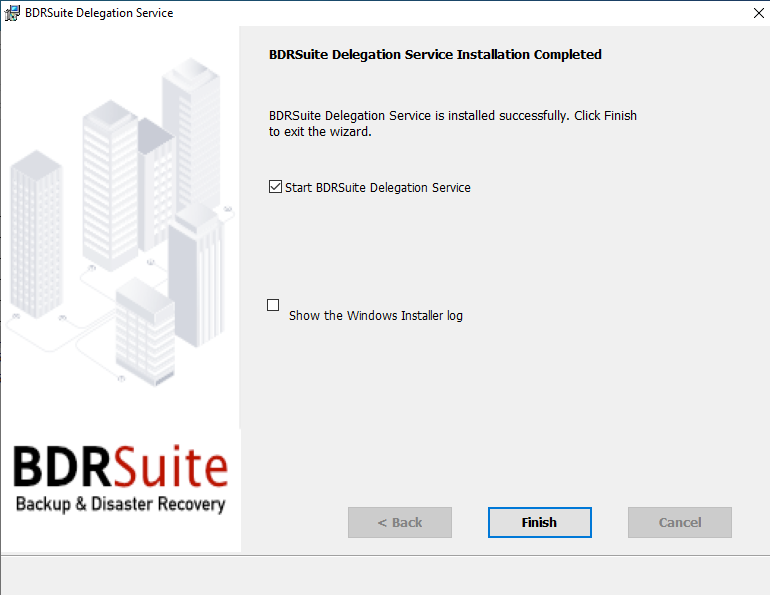
13. Installation Successful, click FINISH.
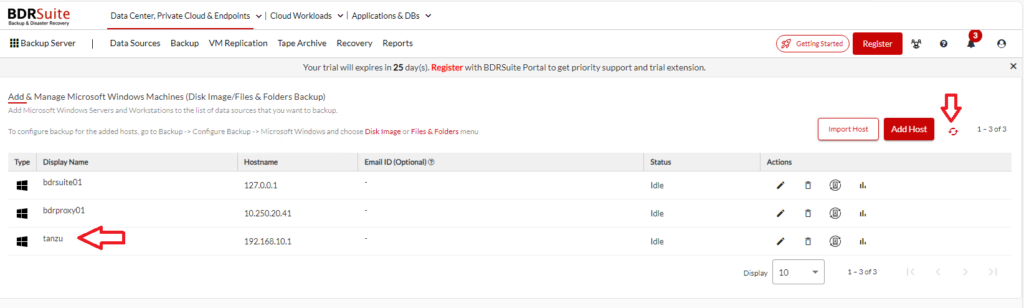
14. If we go back to the Data Sources – Add Windows Server page and click the refresh button, you’ll see your server.
15. NOW, we can create the backup job.
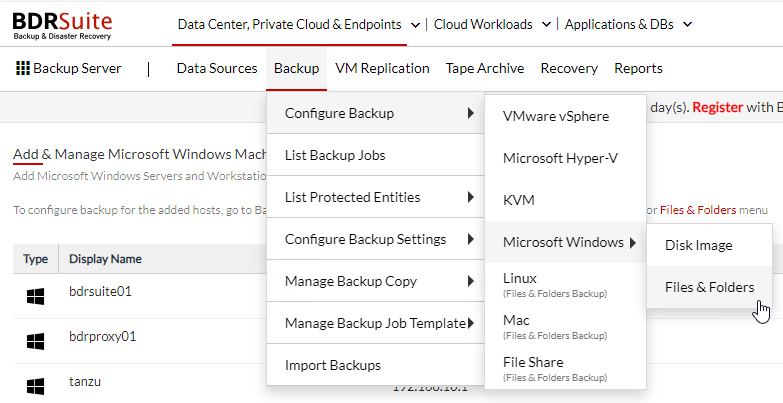
16. Navigate to BACKUP – CONFIGURE BACKUP – MICROSOFT WINDOWS – FILES & FOLDERS.
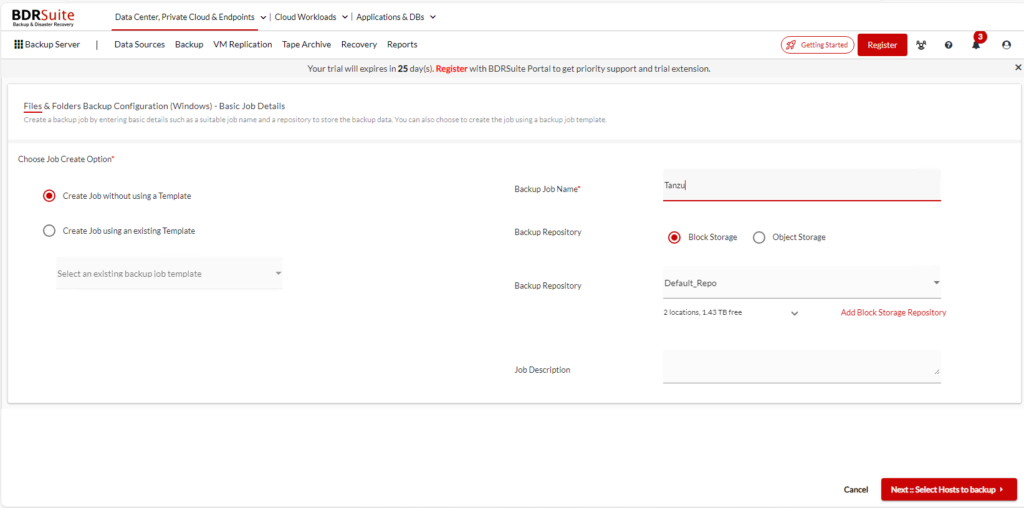
17. Enter the backup job name, choose the type of repository and the repository you want to backup to. Enter a description if you wish and click SELECT HOSTS TO BACKUP.
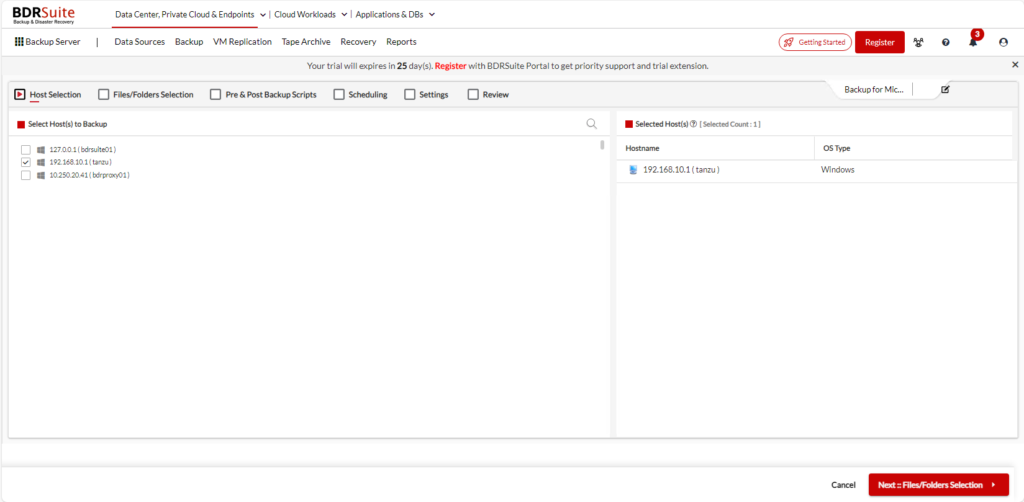
18. Choose your server and click NEXT::FILES/FOLDERS SELECTION.
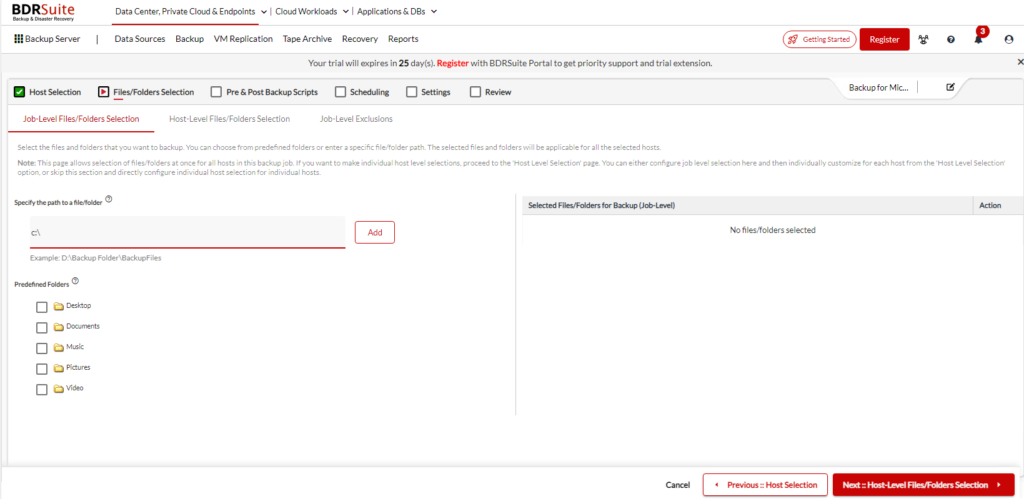
19. Specify the path you want backed up and click ADD.
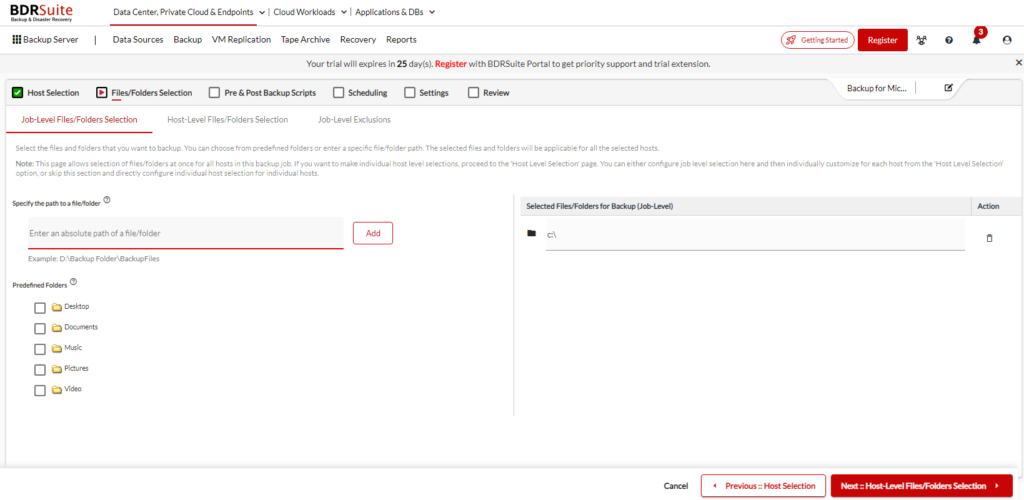
20. Confirm that your file/folder locations are present and click NEXT::HOST-LEVEL FILES/FOLDERS SELECTION
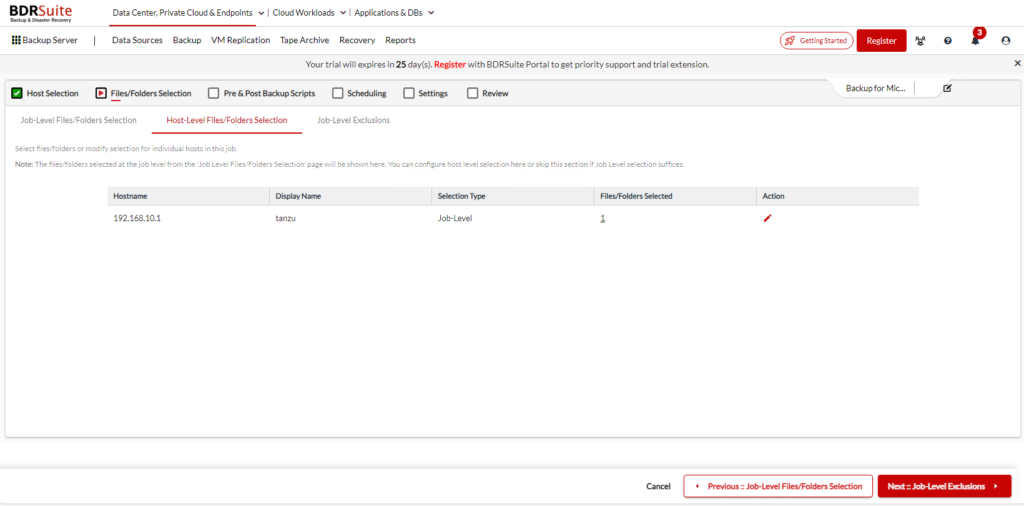
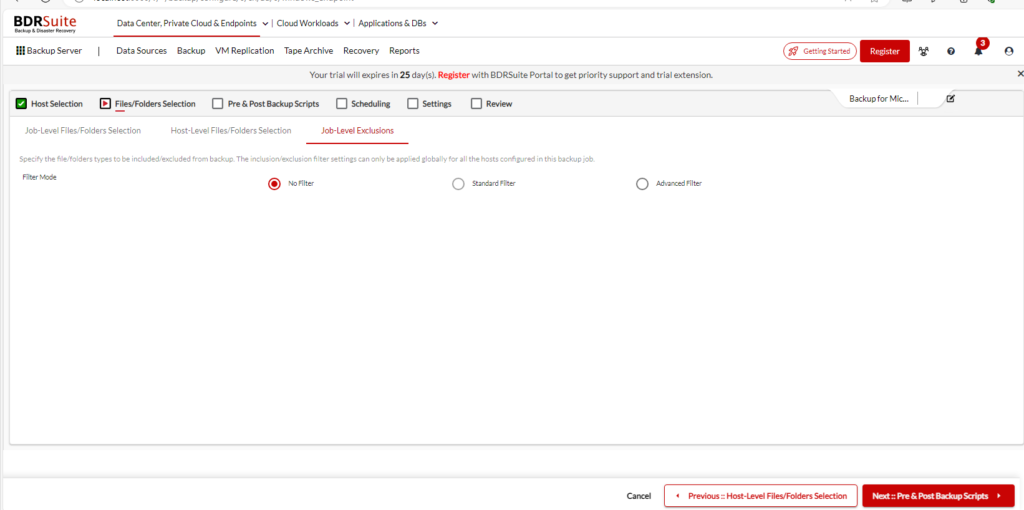
21. CLICK NEXT::JOB-LEVEL EXCLUSIONS
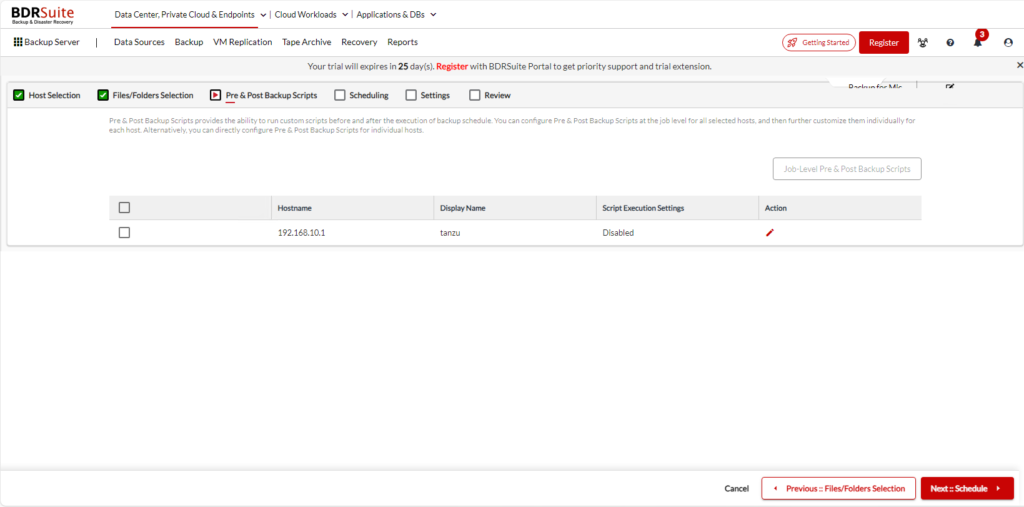
22. Enter any exclusions and click NEXT::PRE & POST BACKUP SCRIPTS
23. If you don’t have pre/post backup scripts, click NEXT::SCHEDULE
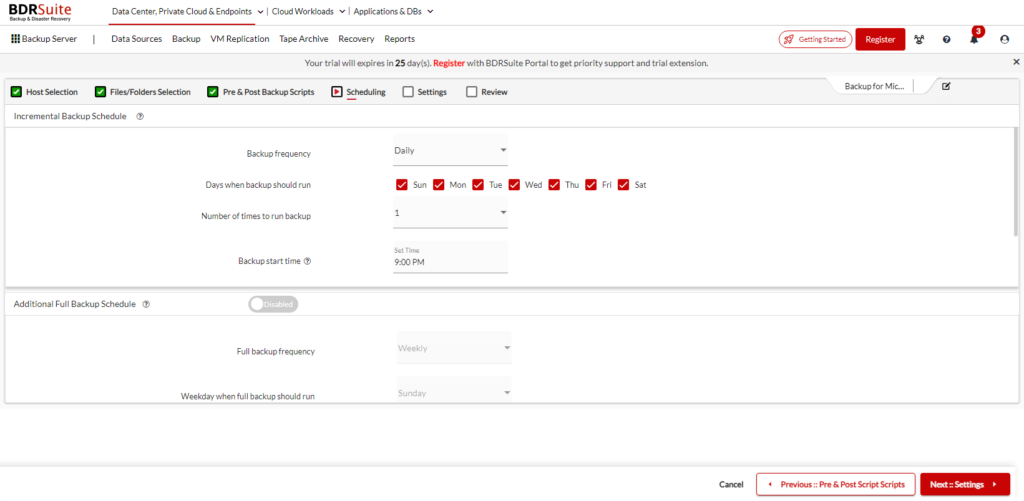
24. Schedule the job to run and click NEXT::SETTINGS
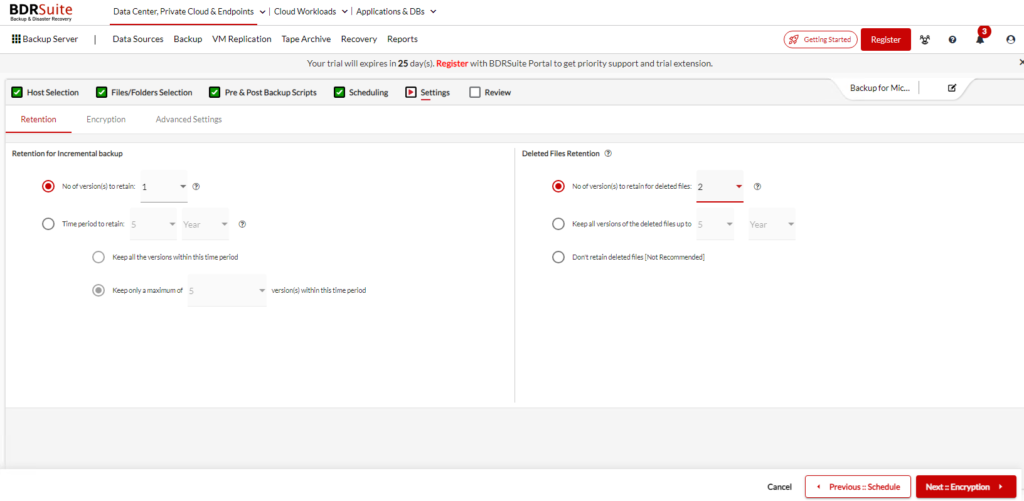
25. Enter your retention settings and click NEXT::ENCRYPTION
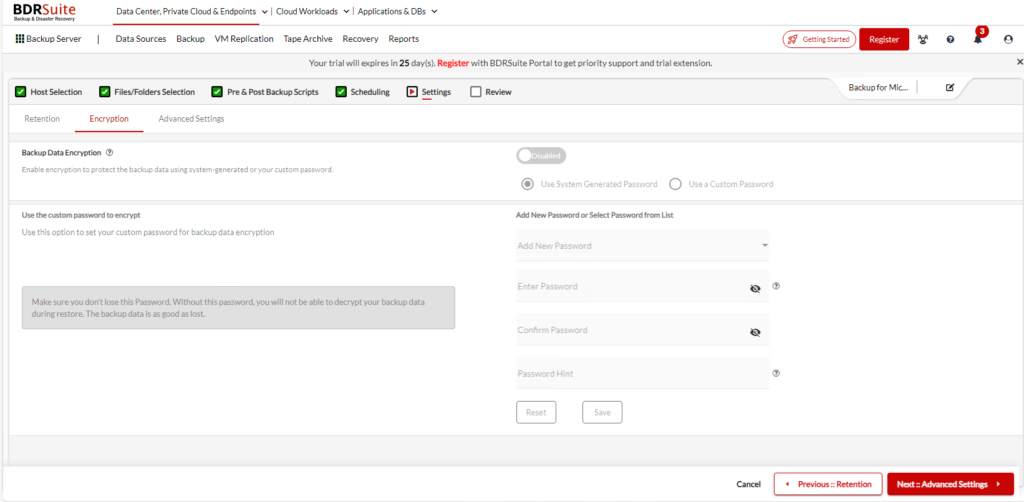
26. Enter your encryption settings. Click NEXT::ADVANCED SETTINGS
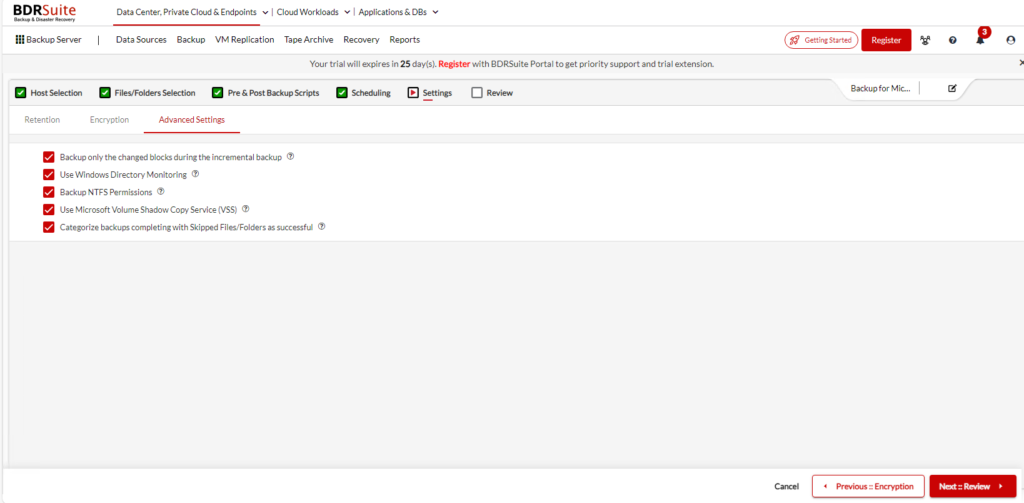
27. Choose your Advanced Backup settings. Click NEXT::REVIEW
28. Review your choices and click SAVE.

29. Confirm saving the job and click SAVE again.

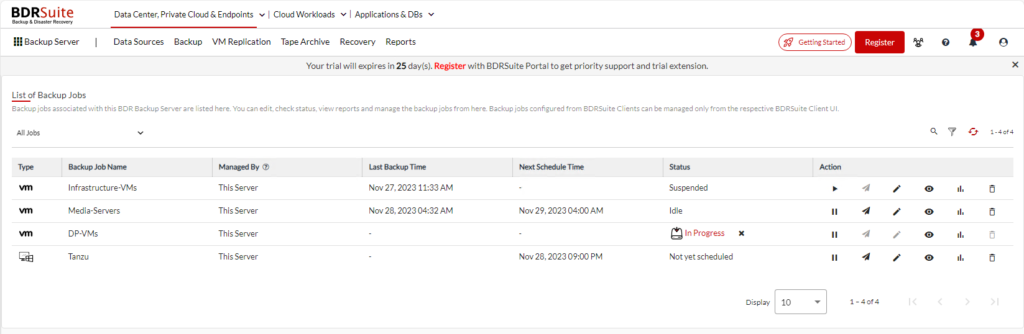
30. Now you’ll see the new job when you go to BACKUP – LIST BACKUP JOBS.
Find out more about Windows Image Backup with BDRSuite!
For more information on BDRSuite 7.0.0, check out the resources below.
Download BDRSuite v7.0.0: You can access the latest version of BDRSuite by visiting Download BSRSuite 7.0.0.
Release Notes: For a detailed breakdown of what’s new in this release, please check out our Release Notes.
Release Blog: To gain insights into the features and benefits of BDRSuite v7.0, take a look at our official Release Blog.
Get more information on these BDRSuite offerings below:
VMware – https://www.bdrsuite.com/vmware-backup
Hyper-V – https://www.bdrsuite.com/hyper-v-backup
Microsoft 365 – https://www.bdrsuite.com/office-365-backup
Endpoint Backup – https://www.bdrsuite.com/endpoint-backup
Visit BDRCloud.com to get started with Cloud Backups with Vembu!
You can find a list of my previous BDRSuite posts HERE.
Ben Liebowitz, VCP, vExpert
NJ VMUG Leader